Litematica is the schematic mod serious Minecraft builders rely on. It shows a ghost hologram of any build — a castle, a house, a redstone contraption — floating in your world, and then you place real blocks to match it. Missing or wrong blocks glow red; correct ones disappear from the hologram as you go. It's the single biggest upgrade you can make to your building workflow, and it's free.
This guide walks you through everything from scratch on Minecraft Java 1.21.5: installing Fabric, installing the mod, loading your first schematic, placing the hologram, and building with it. We'll also cover saving your own builds as schematics and fixing the five most common problems beginners run into.
What Is Litematica?

Litematica is a client-side Fabric mod (Forge port exists but lags behind). Because it runs only on your Minecraft client, you can use it on any server where you have permission to place blocks — including vanilla servers, paid hosts, and even Minecraft Realms. It does not modify the server or cheat; it just shows you where to put blocks.
What You'll Need
- Minecraft Java Edition (any modern version; this guide uses 1.21.5).
- Fabric Loader (free) plus Fabric API.
- Litematica and its dependency MaLiLib.
- A schematic file (
.litematic,.schem, or.schematic) — download one, or create your own later.
Step 1: Install Fabric Loader
- Go to fabricmc.net/use/installer and download the installer for your OS.
- Run the installer. Pick Minecraft Version 1.21.5 (or your version). Leave Loader Version at the default (latest stable).
- Click Install. The installer adds a new profile to your Minecraft launcher called fabric-loader-1.21.5.
- Open the Minecraft Launcher. In the profile dropdown, pick fabric-loader-1.21.5. Launch the game once to generate the
.minecraft/modsfolder.
fabric-loader-1.21.5 version from the dropdown, and save.Step 2: Install Litematica and MaLiLib
Litematica needs a utility library called MaLiLib to work. Both are by the same author (masady) and come from the same place:
- Go to curseforge.com/minecraft/mc-mods/litematica.
- Download the Fabric file matching your Minecraft version.
- Go to curseforge.com/minecraft/mc-mods/malilib.
- Download the matching MaLiLib Fabric file.
- Also download Fabric API from curseforge.com/minecraft/mc-mods/fabric-api.
- Drop all three JARs into your
.minecraft/mods/folder. On Windows this is%AppData%\.minecraft\mods; on macOS it's~/Library/Application Support/minecraft/mods. - Launch Minecraft with the Fabric profile. On the main menu you should see Mods listed at the bottom, and Litematica's default open key (M) will start working.
Step 3: Find or Download a Schematic
A schematic is a saved block pattern — a house, a castle, a redstone farm — stored as a .litematic, .schem, or .schematic file. You can download thousands of them from community sites:
- Planet Minecraft (planetminecraft.com) — millions of user builds.
- Minecraft-Schematics.com — classic repository.
- CubicChaos and individual creators on YouTube — often distribute blueprints as part of their tutorials.
Save the downloaded file into the schematics/ folder inside your Minecraft directory. If the folder doesn't exist, just create it: .minecraft/schematics/.
Step 4: Load the Schematic in Game
- Launch Minecraft with Fabric, open a Creative world to practice (you can switch to Survival later).
- Press M to open the Litematica main menu.
- Click Load Schematics.
- Navigate to your schematics folder. Select the file and click Load Schematic.
- The schematic is now loaded into memory but not yet placed in the world.
Step 5: Place and Position the Hologram
Now turn the loaded schematic into a visible ghost preview you can align with your world:
- Open Litematica (M), go to Loaded Schematics.
- Select your schematic and click Create Placement.
- A hologram appears at the coordinates where the schematic was originally saved. If it's far away, press M → Loaded Schematics → Placements, select the placement, and click Origin: Set from player to move it in front of you.
- Use the Placement Configuration menu to rotate (90° steps), mirror, or nudge the hologram by one block at a time with arrow buttons or keybinds.
- When it's lined up where you want the build to go, you're ready to place blocks.
Step 6: Build Following the Hologram
With the hologram in place, building is straightforward:
- Ghost blocks show where real blocks should go.
- Place a correct block and the ghost disappears — visual confirmation you got it right.
- Place a wrong block and it glows red. Break it and try again.
- Missing blocks that you haven't placed yet show as translucent with subtle shimmer.
Get a Materials List
Before you start placing blocks, press M → Loaded Schematics → select the schematic → Material List. Litematica counts every block type in the schematic and shows you exactly what to gather. Clicking a material teleports you to chests that have it if you're on a server with storage nearby.
Verify What You've Built
At any point, press M → Loaded Schematics → Verify Schematic. Litematica scans your actual world against the hologram and highlights every missing block (shown as a yellow overlay) and every wrong block (red overlay). Great for finding that one stair you placed upside down.
Save Your Own Build as a Schematic
Litematica also goes the other way: save a build you already made so you (or a friend) can re-place it later.
- Press M → Area Selection Editor.
- Click Create new selection. Stand next to your build.
- Move the selection corners by pointing at blocks and pressing the keybinds (default: Alt+1 to set corner 1, Alt+2 for corner 2). Alternatively, click Manual Corner Placement and type coordinates.
- When the green/red box contains your entire build, close the menu.
- Press M → Save Schematic to File. Give it a name and click Save as in-memory schematic (or Save to file to export).
The .litematic file is now in your .minecraft/schematics/ folder and can be shared, backed up, or loaded on any other world.
Key Commands & Shortcuts
| Keybind | Action |
|---|---|
| M | Open Litematica main menu |
| Ctrl+M | Open Litematica Configuration Menu (settings) |
| Alt+1 / Alt+2 | Set area selection corners |
| H | Toggle rendering of the hologram |
| Ctrl+Arrow keys | Move placement by 1 block |
| Ctrl+Alt+R | Rotate placement 90° |
| N / B | Next / previous sub-region (for multi-piece schematics) |
All keybinds are rebindable in Ctrl+M → Hotkeys. If Litematica's M key conflicts with another mod (common with Xaero's Minimap), just reassign it.
Troubleshooting
"Game crashes on launch"
Version mismatch. Your Fabric, MaLiLib, Litematica, and Minecraft versions must all line up. Delete everything in /mods, redownload the exact versions that match your Minecraft (e.g. 1.21.5 on all of them), and relaunch.
"I don't see the hologram"
Three things to check: (1) you actually clicked Create Placement after loading the schematic, (2) the placement's origin is within your render distance, and (3) the H key isn't toggled off. Also look in Ctrl+M → Visuals → Enable Rendering.
"Ghost blocks aren't disappearing when I place real ones"
You're placing the wrong block type, or the wrong orientation. Ghost blocks only clear when they match exactly — a spruce stair is different from an oak stair, and a stair facing north is different from one facing south. Check the material list and compare.
"Server kicked me for using Litematica"
Litematica is client-side and doesn't inherently break server rules, but if you enable its Easy Place or Fill features on a server with anti-cheat, you'll get flagged. Leave those features off on servers and you're fine.
"The hologram is rotated the wrong way"
Open M → Loaded Schematics → Placements → your placement → Rotation and click the rotation arrows. For mirrored builds (left-handed vs right-handed), toggle Mirror on the same menu.
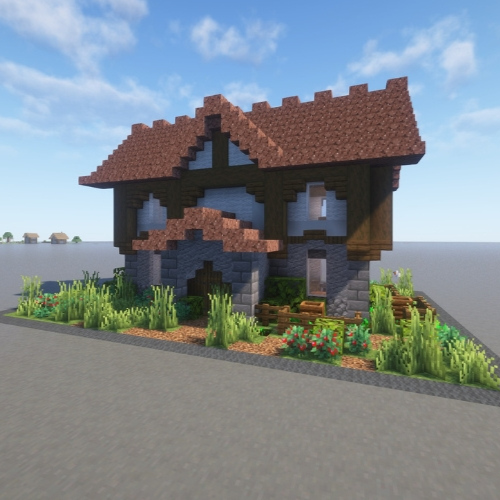
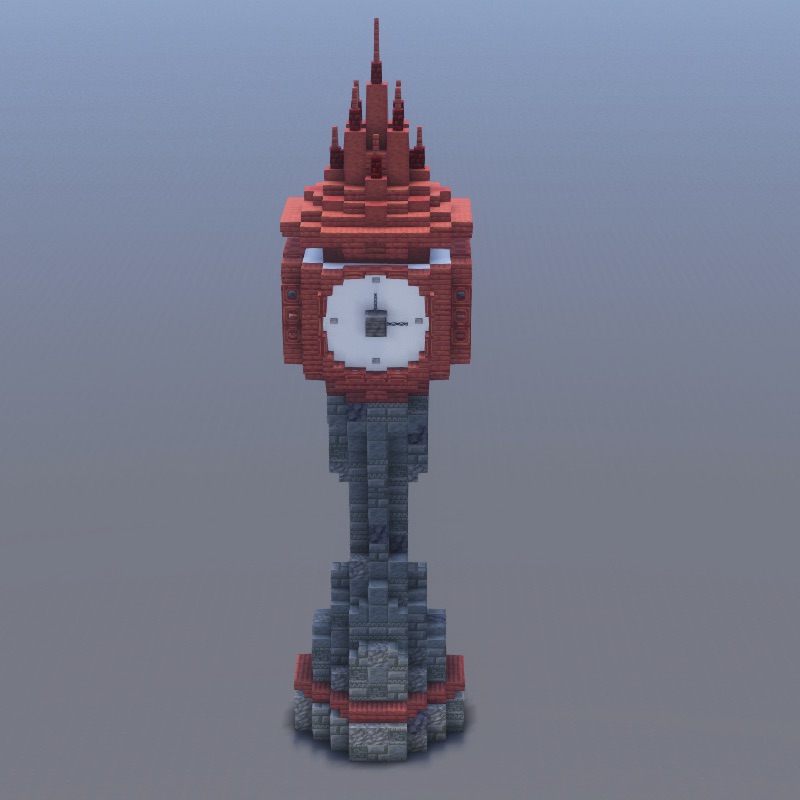
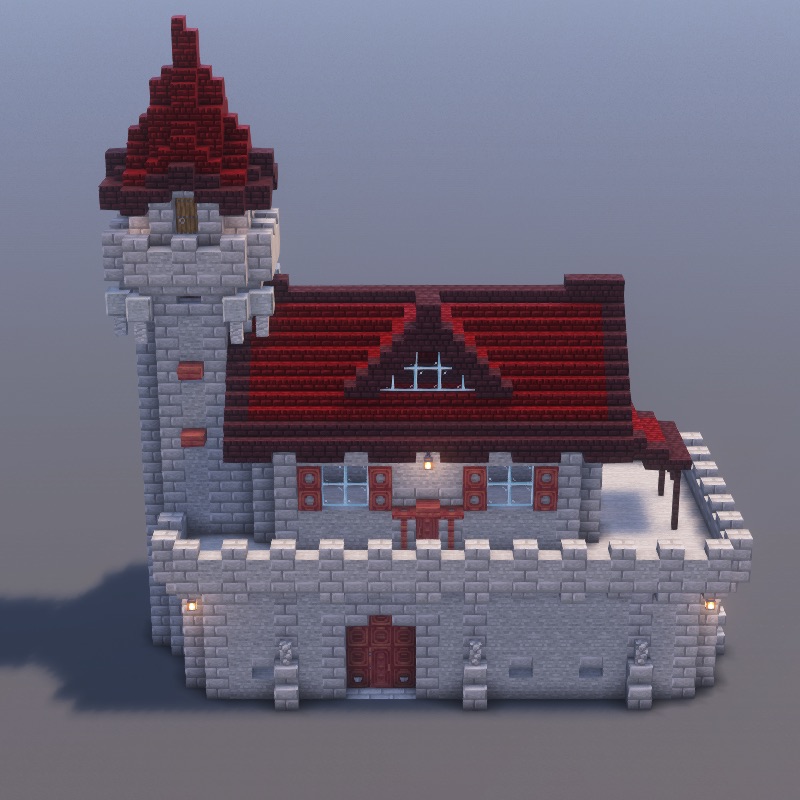
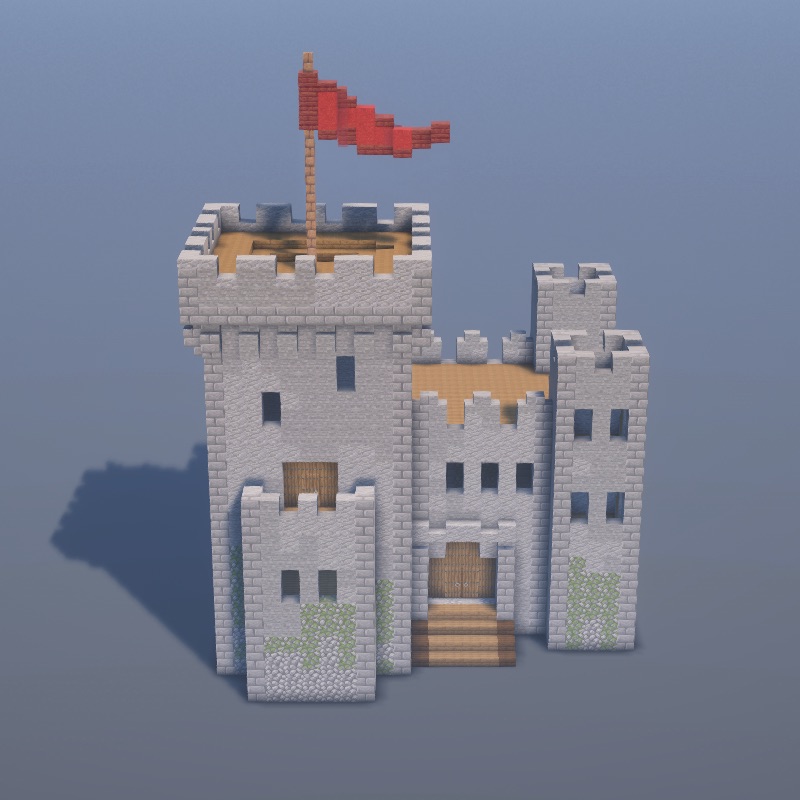
What to Build First with Litematica
Start with something small to get the workflow down — a fountain, a garden arch, or a starter house — before committing to a 200-step mega-build. If you want battle-tested schematics to practice with, our app's web tutorials are the web-rendered version of buildable designs that also exist as downloadable Litematica schematics.